From drawing to carving. The wood is reclaimed African Teak (probably) from the Bristol Wood Recycling Project. In a previous life it was parquet flooring. Work in progress. It will be a necklace.
I like instruction manuals. There is something about their clean lines in sharp black and white that appeals to me. Instruction manuals have a rich history. One example is the Ripley Scroll. A wonderful and strange alchemical diagram from the 15th century.
I have been working on art with instruction manuals and diagrams as inspiration for years. It hasn’t really gone anywhere, but I continue.
For the last few months I have been experimenting with woodworking. I started off with some old timber samples from work.
One of the first things I tried making was buttons. Nice buttons are hard to find so I thought I would make some myself. It proved to be quite time consuming but I will definitely try it again.
One of the first pieces of jewellery I made was a wooden pendant. I roughly shaped it with a saw and then filed away for hours. I got the finish with fine grade wet and dry paper and then a coat of wax. The wood is river red gum (eucalyptus camaldulensis).
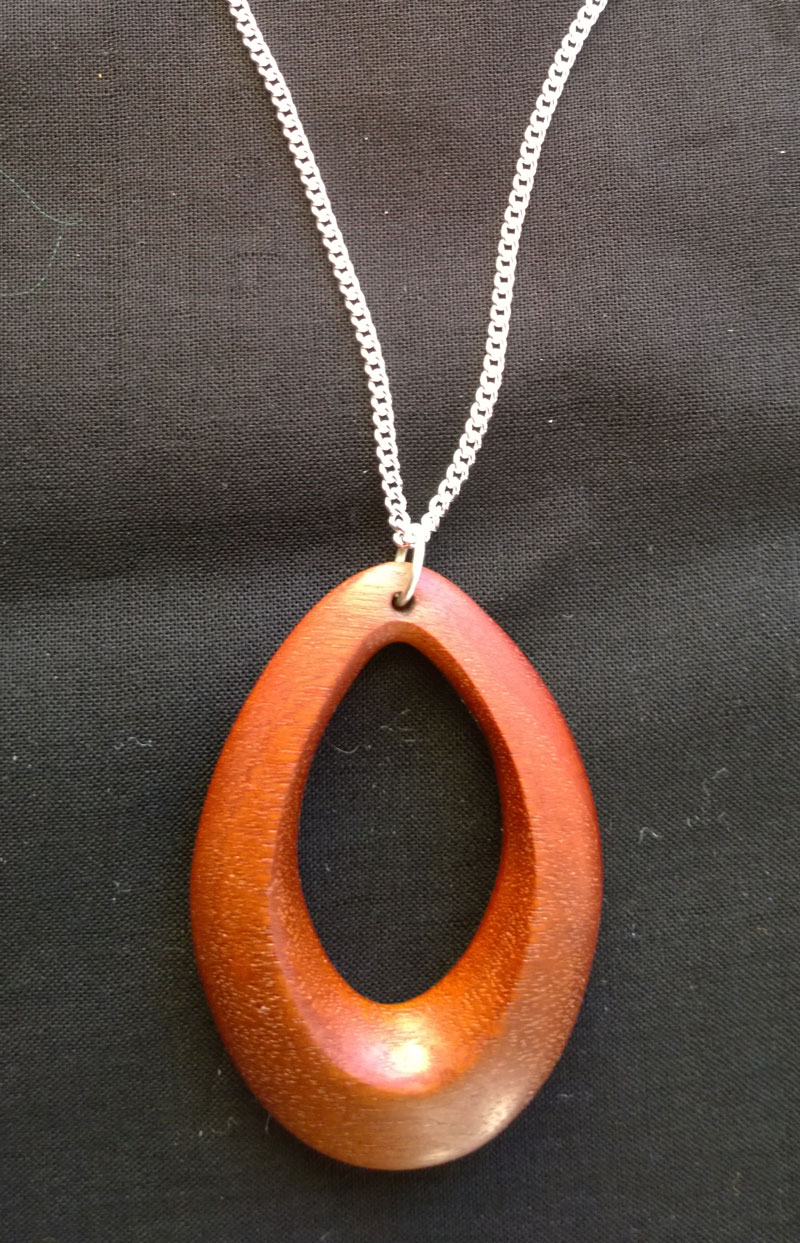
I have been experimenting with different pendant shapes. I also got a Dremel multi-tool thing which the rough shaping much quicker. The example below is made with acacia wood.
I have been experimenting with more complex designs with interlocking overlapping segments. The example below is made with beech wood.
 Another experiment with interlocking segments. I am still working on ways to join the segments. The example below is made from oak.
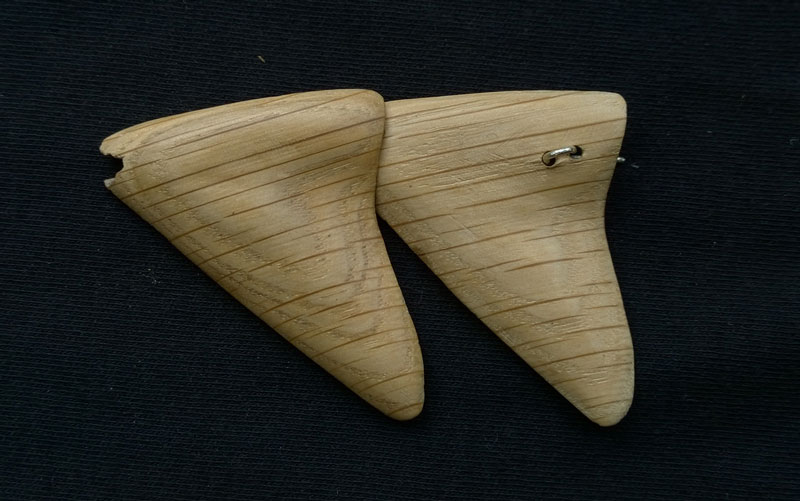
I’m not sure what this is going to be yet. I am making another one for a symmetrical necklace perhaps. The wood is probably African rosewood.
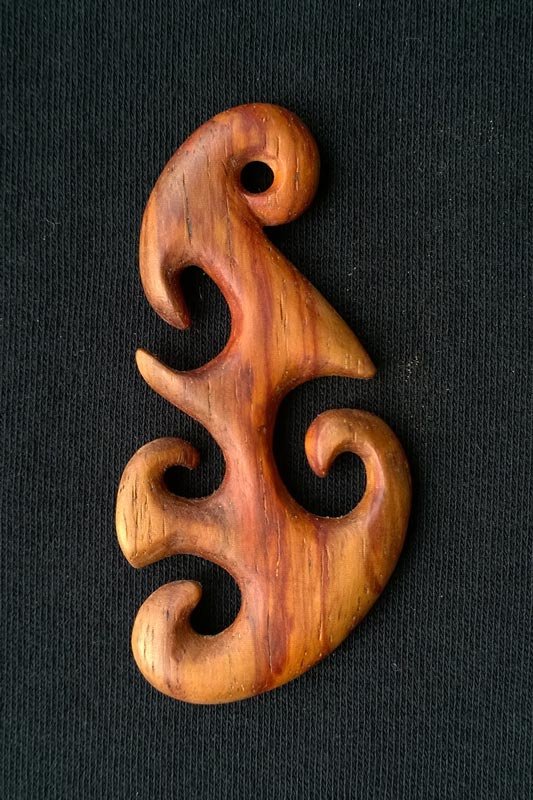
This is an unfinished pendant design with spiral design. The wood is upcycled parquet flooring from the Bristol Wood Recycling Project.
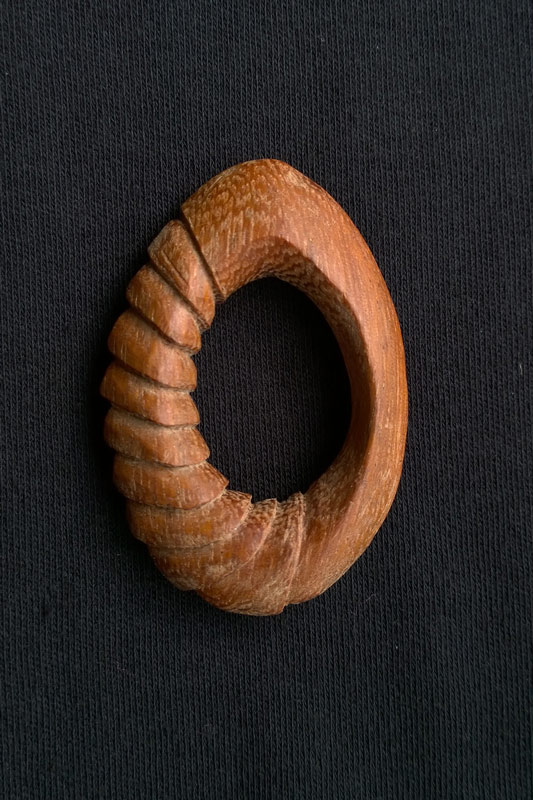
Next, I hope to find ways to combine wood and silver.
This gallery contains 10 photos.
The finished thing
200g flour (I have tried this recipe with plain flour and spelt flour. Both worked equally well)
100g Pure dairy free spread (or dairy equivalent)
4 tablespoons of water
½ teaspoon of vanilla essence
A bit of lemon zest
apple butter See recipe here (It would be interesting to try it with damson or blackberry jam)
3 grated apples (or finely chopped)
1. Put the flour, lemon zest and dairy-free spread (or dairy equivalent) and rub together with your hands
2. Mix the vanilla essence with the water.
3. Add water until flour fat mix holds together and looks like pastry.
4. Put the pastry in the fridge until you need it.
5. Peel, core and grate the apples.
6. Roll out the pastry into a rectangle
7. Spread a layer of apple butter over the pastry rectangle

8. Spread the grated apple over top

9. Cut the pastry down the middle into two long thin rectangles
10. Roll the pastry up into two Swiss roll type sausagey things.
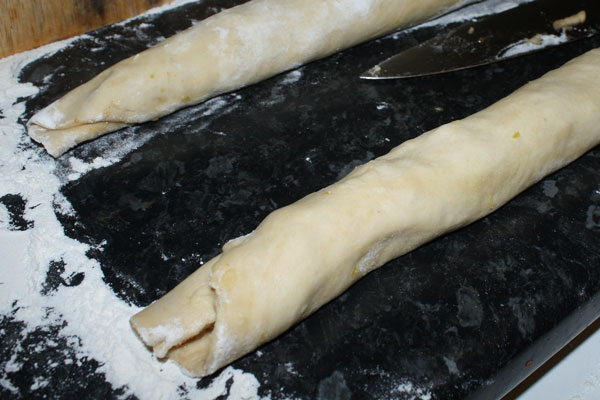
11. Line a cake tin with baking parchment
12. Pre heat your oven to gas mark 3.5 /155°C.
13. Carefully cut the rolled pastry into segments and arrange in the cake tin.

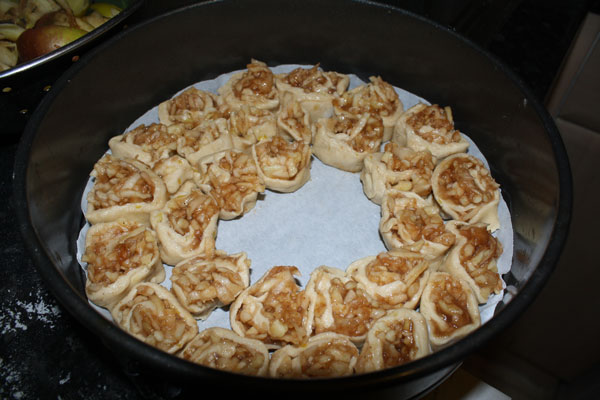
14. Bake your pastry thing in the oven for an hour or until the pastry is a nice golden brown.
15. Eat it. Enjoy.
I love this stuff. If you’ve got loads of apples then this is the thing to make. It’s great on toast or in tarts or pies.
1.5 kg of apples or crab apples
500ml water
500ml dry cider
Sugar (I usually use demerara or raw cane sugar)
3 teaspoons ground cinnamon
1 heaped teaspoon ground cloves
1 heaped teaspoon ground allspice
1 teaspoon of ground cardamom
2 star anise pods (optional)
Zest of 2 or 3 or 4 lemons (I like it zesty)
1. Peel the apples and cut into pieces.
2. Place in a stainless steel or enameled pan with the water and cider.
3. Bring to the boil then simmer until the apples are very soft.
4. Use a sieve to strain off excess liquid and then purée the mush with a hand blender.
5. Allow ¾ lb (340 g)of sugar to each l lb (450 g) of pulp.
6. Return the pulp to the pan and simmer.
7. Add the sugar, cinnamon, cloves, allspice and lemon zest.
8. Simmer, stirring frequently, until no liquid remains.
9. Spoon into clean, dry, warm, sterilized jars.
This gallery contains 3 photos.
This dress design started out when I was experimenting with sewing curving pin tucks in to a rectangle of scrap fabric. I found that it fitted nicely over the breast when placed at an angle. The pin tucks reminded me of the rib cage. I liked the slightly anatomical look of the form. The skeletal …